*sck = shortcut key
Photoshop "Human Organs" image steps:
Tools used:
-Adjustments (Levels, Brightness/Contrast, Hue/Saturation, Black & White)
- Free Transform
-Clone Stamp Tool
-Magic Wand Tool
-Quick Mask
-Eraser Tool
-Brush Tool
-Paint Bucket Tool
-Opacity
-Filter (Craquelure, Texturizer)
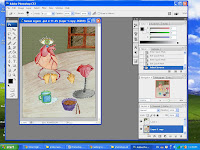
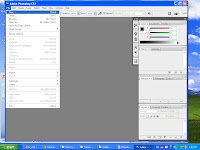
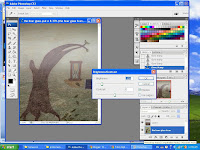
1. Launch Adobe Photoshop CS3. Go FileàNewà[set Width to 16 inches, Height to 20 inches, Resolution to 200 pixels/inch, Color Mode to RGB Color, 8 bit, click OK].
2. Open the image intend to edit: FileàOpenà[select the image]à[click on the image]àSelectàAllàCtrl+CàCtrl+V.
3. Resize the image by using Free Transform: EditàFree Transform or sck= Ctrl+T.
4. Adjust the image to sketch’s original colour by going to EditàAdjustmentsàLevels or sck= Ctrl+L.
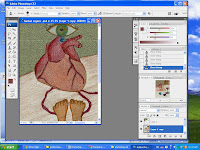
5. Cloned away those areas with scanned flaws by using Clone Stamp Tool or sck= S. Alt+click on the source area to be cloned, and click on areas to be stamped on.
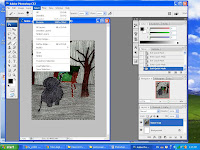
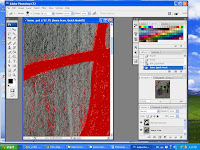
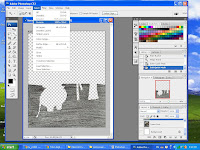
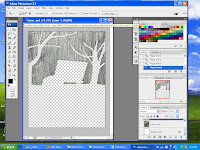
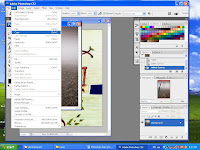
6. Select the background with Magic Wand Tool or sck= W. To refine the background area selected, click Q to enter Quick Mask. Then, use Eraser to select the unselected area. Click Q again to exit Quick Mask.
 |
| Select with Magic Wand Tool |
 |
| Quick Mask |
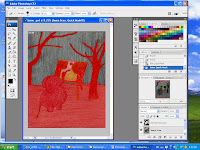
7. Colour the selected background area with Brush Tool or sck= B and Paint Bucket Tool or sck=G.
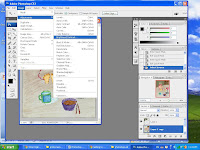
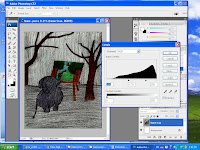
8. Adjust the Hue/Saturation. Go to ImageàAdjustmentsàHue/Saturation. Adjust to desired hue, then adjust the Opacity.
 |
| Steps to select Hue/Saturation |
 |
| Adjust to desired hue |
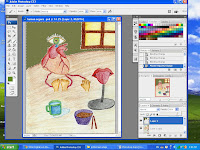 |
| Adjust the Opacity to 85%. |
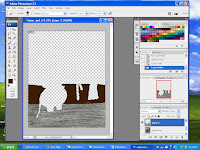
9. Select the bottom area with Magic Wand Tool, repeat steps 6 & 7 in order to get the desired hue and saturation.
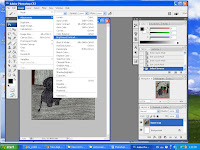
10. Select the window glass area with Magic Wand Tool. Edit the colour by using Black & White image adjustments, go to ImageàAdjustmentsàBlack & White, or sck= Alt+Shift+Ctrl+B .
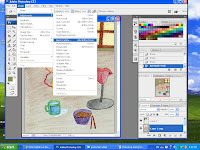 |
| Steps to select Black/White |
 |
| Adjust to desired hue |
11.
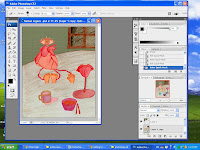
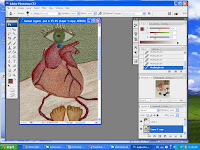
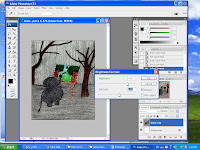
Make the background area looks more harmony with the whole sketch, go FilteràTextureàCraquelure.
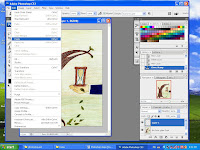
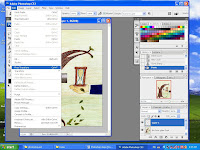
12. Select the human organs, bowl and mug by selecting the bigger area (background and bottom area) using Magic Wand Tool (W), refine the area as usual by using Eraser and Brush Tool after enter Quick Mask (Q). After that, exit Quick Mask and go SelectàInverse or sck=Shift+Ctrl+I.
 |
| Select bigger area using Magic Wand Tool |
 |
| Quick Mask to refine selected areas |
 |
| Select Inverse to inverse the selection |
 |
| The inversed area: the human organs, bowl and mug |
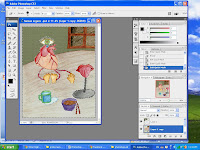
13. Adjust the brightness of the human organs, bowl and mug to duller tone by going to ImageàAdjustmentsàBrightness/Contrast.
 |
| Steps to select Brightness/Contrast |
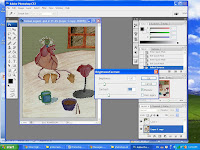 |
| The degree of Brightness/Contrast for selected areas being adjusted |
14. Adjust the bottom area and window area’s brightness as well using step 12.
 |
| The bottom area & window area's Brightness/Contrast being adjusted |
15.
Touch up those flaw lines on the sketch using Clone Stamp Tool or sck= S. Alt+click on the source area to be cloned, and click on areas to be stamped on.
 |
| Before cloned |
 |
| After cloned |
16.
Add a filter on the whole image.
 |
| Steps to texturize the image |
 |
| Adjust the to desired effect |
 |
| Texturized! |
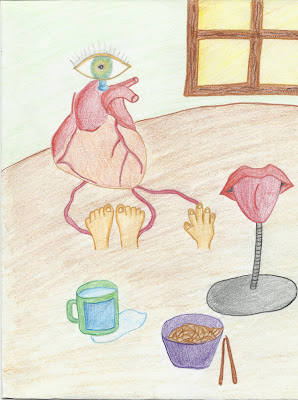 |
| BEFORE |
 |
| AFTER |
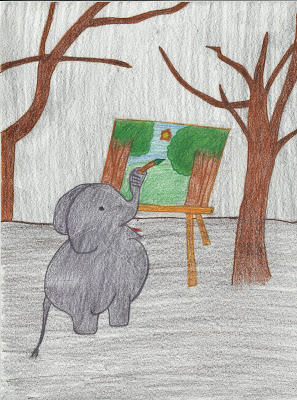
Photoshop "Home" image steps:
Tools used:
-Free Transform
-Clone Stamp Tool
-Rasterize Layer
-Magic Wand Tool
-Quick Mask
-Adjustments (Brightness/Contrast)
-Paint Bucket Tool
-Eraser Tool
-Brush Tool
-Filter (Rough Pastel, Texturizer)
-Opacity
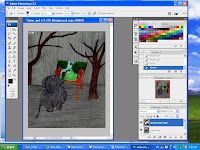
1. Launch Adobe Photoshop CS3. Open background. Go FileàNewà[set Width to 16 inches, Height to 20 inches, Resolution to 300 pixels/inch, Color Mode to RGB Color, 8 bit, click OK].
 |
| Select new background |
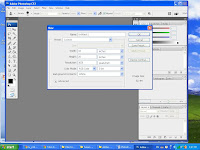 |
| Adjust the resolution |
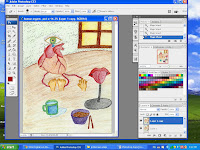
2. Place image. Go FileàPlaceà[select the image]àclick Place.
 |
| Steps to Place a new image |
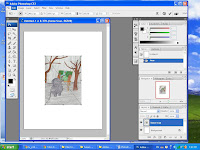 |
| The placed image |
3. Free Transform. Adjust the size of image to fit the size of the background by adjusting the corners of the image. Press Enter when complete.
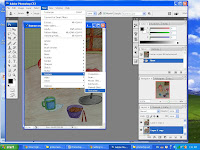
4. Clone scanned flaws. Click on Clone Stamp Tool or sck=S. Alt+click on the source area to be cloned, and click on areas to be stamped on.
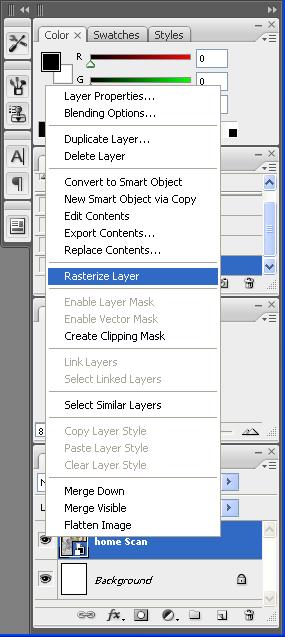
1. Rasterize layer. Due to the image is a Smart Object, have to rasterize the layer before able to use the Clone Stamp Tool. Right click on the layer, select Rasterize Layer.
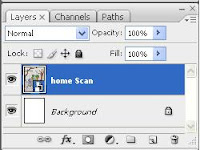 |
| The layer to be rasterized |
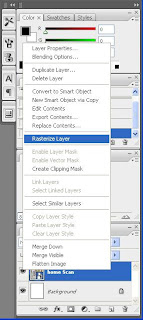 |
| Steps to rasterize the layer |
 |
| Clone the flaw lines |
5.
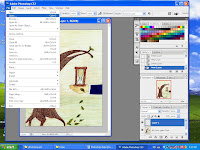
Adjust image levels. Go ImageàAdjustmentsàLevels or sck= Ctrl+L.
 |
| Steps to select Levels |
 |
| The Levels adjustments |
6.
Select the painting in image. Use Magic Wand Tool or sck= W to select the big areas, enter Quick Mask (Q) to refine selected areas, exit Quick Mask (Q), then SelectàInverse or sck=Shift+Ctrl+I.
 |
| Use Magic Wand Tool to select big areas |
 |
| Quick Mask to refine selection area |
 |
| Select Inverse to select the inverse area |
7.
Adjust painting brightness for desired effect. Go ImageàAdjustmentsàBrightness/Contrast.
 |
| Steps to select Brightness/Contrast |
 |
| Brightness adjusted |
8.
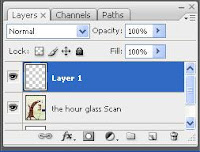
Duplicate a Background layer to paint background. Right click on background layer, click Duplicate Layer.
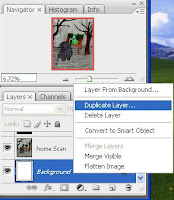 |
| Steps to Duplicate Layer |
9.
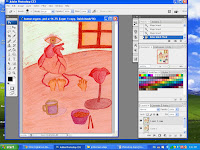
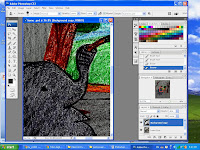
Select 90% Gray to paint the background. Use Paint Bucket Tool or sck=G to paint the duplicated Background layer.
 |
| The selected Gray tone |
 |
| The painted duplicated Background layer |
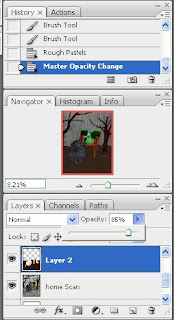
10.
Change the Background layer order to above Home Scan layer. Adjust the opacity.
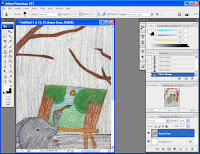
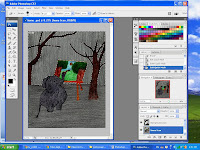
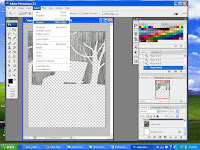
11. Make the painting, tree trunks and elephant in the image look bright. Use Eraser Tool or sck=E to erase the gray layer on top of the painting, tree trunks and elephant.
 |
| Erase the painting on the image |
 |
| Painting on image being erased |
 |
| Tree trunks and elephant being erased |
12. C
lone the flaw lines on the image. Click on Clone Stamp Tool or sck=S. Alt+click on the source area to be cloned, and click on areas to be stamped on.
 |
| Before clone |
 |
| After cloned |
13.
Use Magic Wand Tool to select the ground area by selecting areas other than the ground area first, then SelectàInverse.
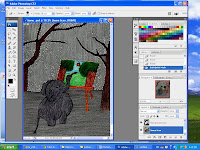 |
| Use Magic Wand Tool to select the background |
 |
| Quick Mask to refine selection area |
 |
| The refined Quick Mask area |
 |
| Exit Quick Mask |
14.
Copy the selected area to new layer. Right click on the image, choose Layer via Copy.
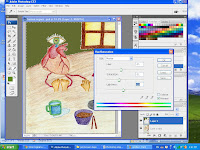
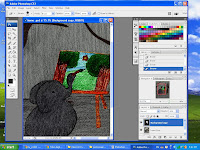
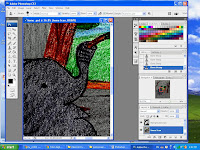
15. Colour the ground. Select the empty area first, then SelectàInverse. Use Brush Tool or sck=B and select desired colour, then brush over the ground.
 |
| Select empty area |
 |
| Select Inverse to select the ground area |
 |
| Colour the ground via Brush Tool |
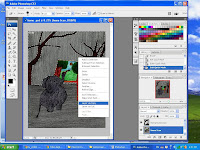
16.
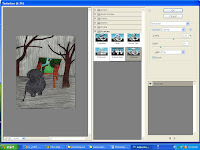
Apply Filter to the ground. Go FilteràArtisticàRough Pastels. Adjust to desired effect and then adjust the opacity to overlap with the previous layer.
 |
| Steps to select the Rough Pastels Filter |
 |
| Rough Pastels Filter applied |
 |
| Adjust the Opacity |
17.
Repeat steps 13 & 14 for the sky area.
 |
| Copy selected layer to new layer |
 |
| Select white areas |
 |
| Select Inverse |
18.
Apply Filter to the sky. Go FilteràTextureàTexturizer. Adjust to desired effect and adjust the brightness.
 |
| Steps to select Texturizer Filter |
 |
| Texturized! |
 |
| BEFORE |
 |
| AFTER |
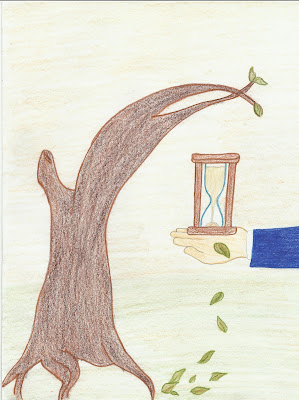
Photoshop "The Hour Glass" image steps:
Tools used:
-Free Transform
-Clone Stamp Tool
-Rasterize Layer
-Magic Wand Tool
-Quick Mask
-Adjustments (Levels, Brightness/Contrast)
-Opacity
-Filter (Texturizer)
-Eraser Tool
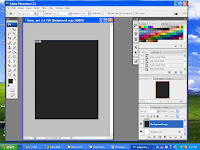
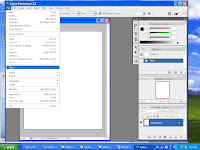
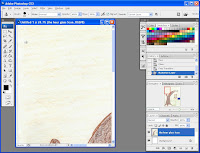
1. Launch Adobe Photoshop CS3. Open background. Go FileàNewà[set Width to 16 inches, Height to 20 inches, Resolution to 300 pixels/inch, Color Mode to RGB Color, 8 bit, click OK].
 |
| Open background |
 |
| Set resolution and size |
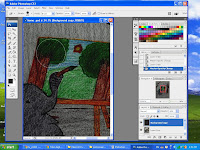
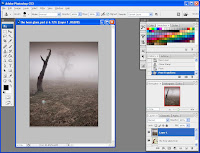
2. Place image. Go FileàPlaceà[select the image]àclick Place.
 |
| Import image |
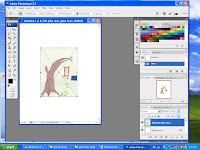 |
| Image placed |
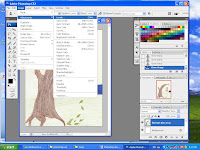
3. Free Transform. Adjust the size of image to fit the size of the background by adjusting the corners of the image. Press Enter when complete.
4. Clone scanned flaws. Click on Clone Stamp Tool or sck=S. Alt+click on the source area to be cloned, and click on areas to be stamped on.
Rasterize layer. Due to the image is a Smart Object, have to rasterize the layer before able to use the Clone Stamp Tool. Right click on the layer, select Rasterize Layer.
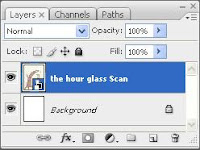 |
| Smart object |
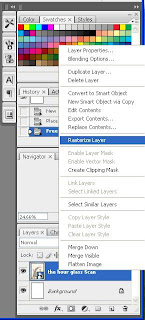 |
| Steps to rasterize layer |
 |
| Clone to cover flaw lines |
5. Adjust image levels. Go ImageàAdjustmentsàLevels or sck= Ctrl+L.
 |
| Steps to adjust Levels |
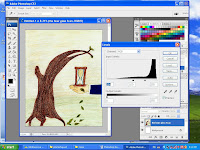 |
| Levels adjusted |
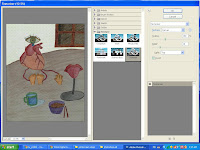
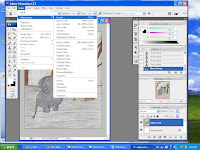
6. Add background image. Click Create New Layer, then go FileàOpenà[select the image]àOpen. After that, go SelectàAll or sck=Ctrl+Aà Copy or sck=Ctrl+CàPaste or sck=Ctrl+V. Free Transform it by going ImageàFree Transform or sck=Ctrl+T.
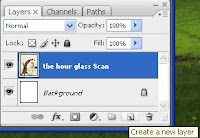 |
| Create new layer |
 |
| New layer created |
 |
| Steps to open background image |
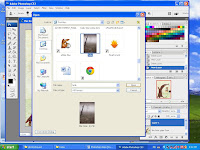 |
| Background image selected |
 |
| Select All |
 |
| Copy |
 |
| Paste |
 |
| Free Transform background image |
 |
| Background image is free transformed |
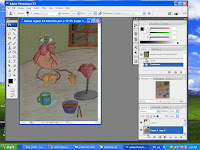
7.
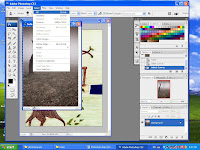
Remove unwanted object on background image by Clone Stamp Tool or sck=S. Alt+click on the source area to be cloned, and click on areas to be stamped on.
 |
| Clone the unwanted object with similar tone |
8.
Adjust background image Opacity.
9. Adjust brightness. Go ImageàAdjustmentsàBrightness/Contrast.
 |
| Steps to adjust Brightness/Contrast |
 |
| Brightness/Contrast adjusted |
10.
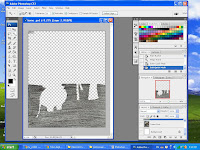
Make the objects in the image look darker. Use Magic Wand Tool (W) to select the objects. Enter Quick Mask (Q) to refine selected areas, exit Quick Mask (Q).
 |
| BEFORE |
 |
| AFTER |